Down to the Frame

Here you can see here the previous owner cut off the ends of the rotten stringers and added the cross piece between both frames.

The cross piece is removed.

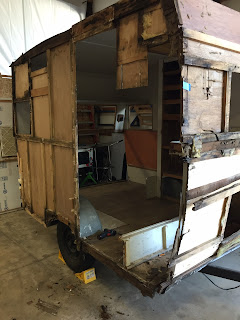
With the floor completely removed, it was easy to see the work that needed to be done to the frame. Some rust removal for sure, some straightening of bent supports, and some welding type of repairs. I noticed when pulling Otis to the shop that the trailer appeared to “bounce” or rock forward and backward. Once I got to this stage of the teardown, I realized why. The frame had two serious stress cracks in the wimpy c-channel where they were welded/attached to the front L-channel cross member support. It’s apparent that the weight of the body puts a lot of stress in this area. I would eventually repair this with an extra plate of steel in these areas. I would also weld some brackets in the areas of the leafspring eye supports the width of the c-channel, in a sense, boxing in those 4 areas. There were also several places that the cross supports had broken away from the frame rails. Some may ask why I wouldn’t just build a new, stronger frame to replace the original lighter duty one. I figured, even with the few things I needed to fix, this trailer made it this far starting in 1964! My goal was trying to keep as many major original components as possible. Once I repaired the frame, I was/am confident in its structural dependability, especially since I was going to build a whole new body, that when through, and attached to the frame, would create the unibody strength of a brand new trailer.
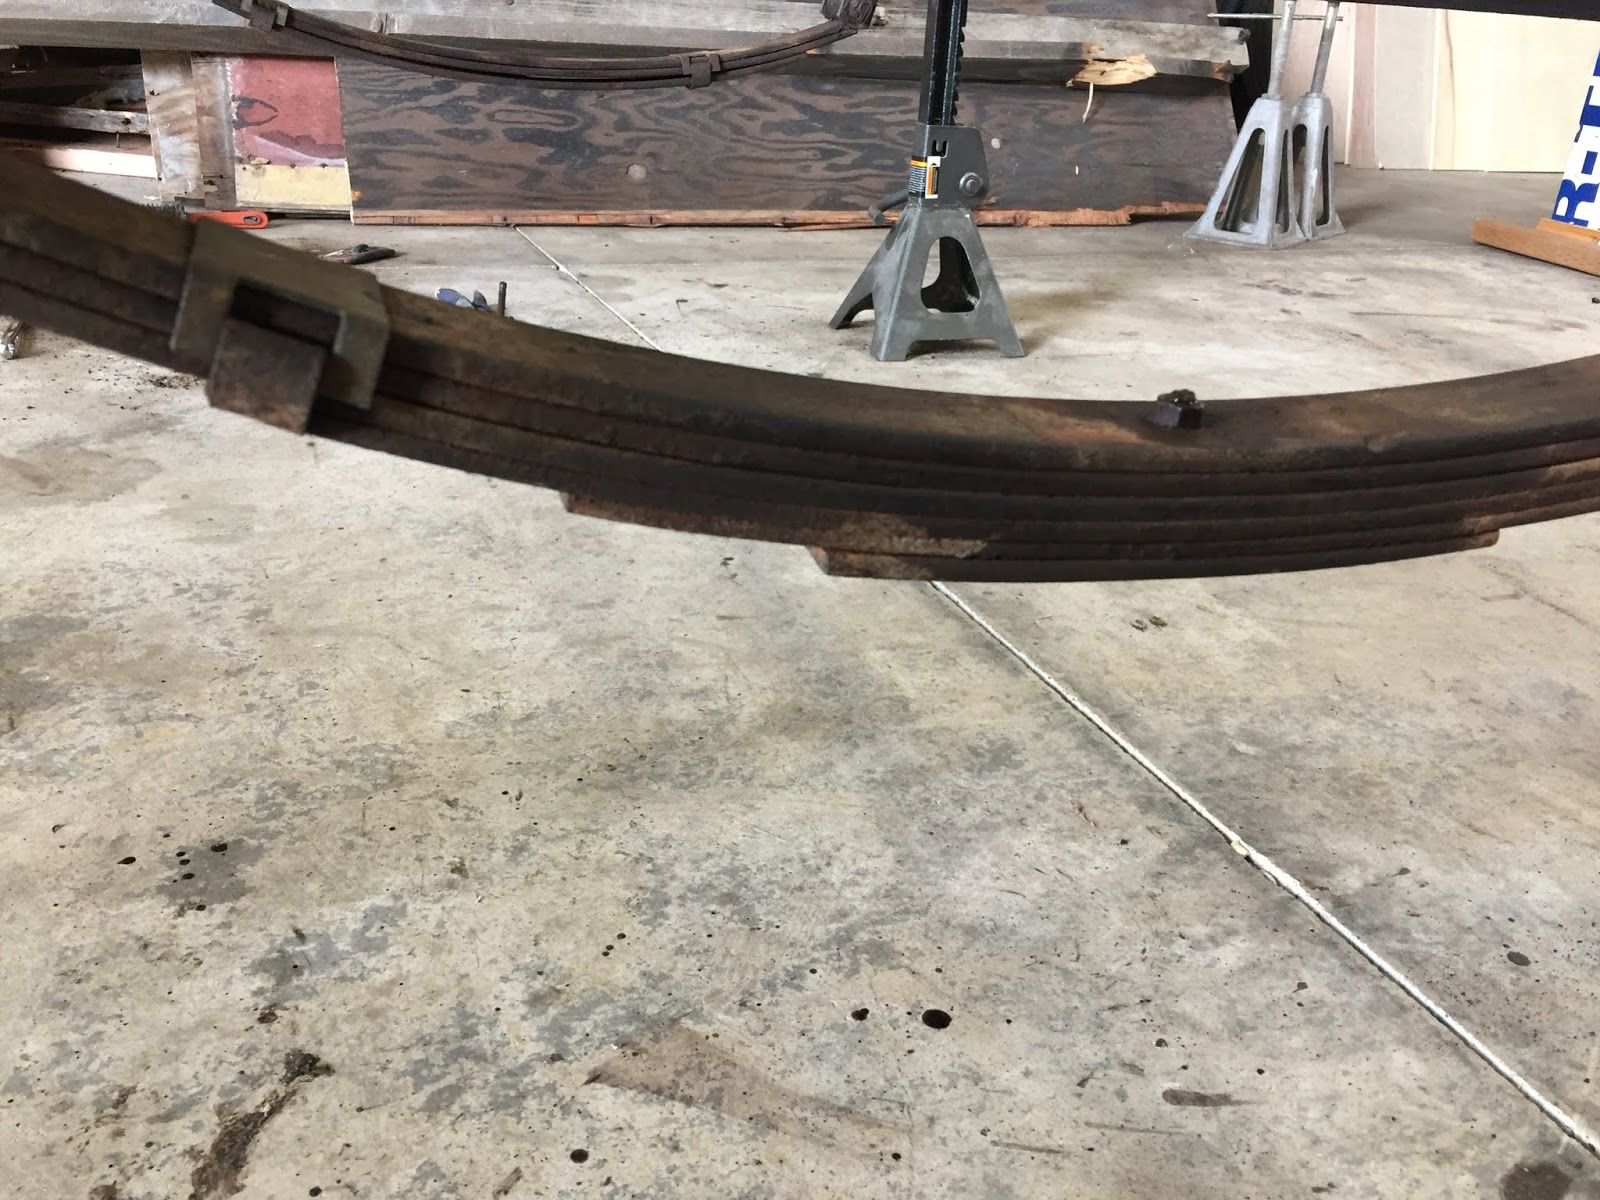
The leaf springs were in good condition, with the exception of one leaf being broken. I would weld it back together and call it good. The leafs springs, being old school without rubber bushings, utilized zirk fittings for a grease type spring system. After cleanup and a paint job, the springs were as good as new. I would also replace the original u-bolts, nuts, and axle plate with new ones.

The axle was also in great condition with no scaring on the axle spindles. It was easy for me to clean the axle up. I also replaced the bearings and seals in the hubs. Voila! New axle assembly! Oh, and by the way, the solid steel axle weighs a ton! This thing is heavy!
Comments
Post a Comment