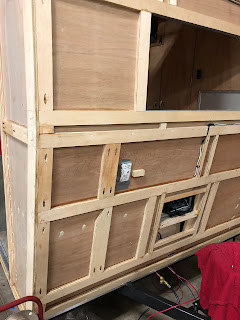
With the sides up and fastened to the floor, I added the front and rear cross pieces to connect them. After the front and rear cross bracing was installed, I adhered the interior birch paneling to them. In this photo, you can see the cutout for the original (well, original to me, but not original to the trailer) refrigerator venting. Since I need to match the cutout in the original aluminum siding which I am planning to reuse, I figured I would add a nice aluminum compartment door, whether it was functional or not. Since I couldn’t put a new gas operating fridge back in (I couldn’t find one small enough to fit the area safely) I decided on a nice 12volt/120volt unit which doesn’t need exterior venting. Also, on a random note, you can see how nice the use of a Kreg pocket hole screw jig is when building the trailer. I added the necessary support blanks within the framing for the future solid screw anchoring of exterior light fixtures and other random vents, etc. These wer...
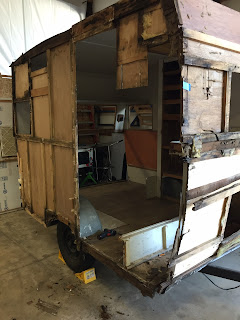
Here you can see here the previous owner cut off the ends of the rotten stringers and added the cross piece between both frames. The cross piece is removed. With the floor completely removed, it was easy to see the work that needed to be done to the frame. Some rust removal for sure, some straightening of bent supports, and some welding type of repairs. I noticed when pulling Otis to the shop that the trailer appeared to “bounce” or rock forward and backward. Once I got to this stage of the teardown, I realized why. The frame had two serious stress cracks in the wimpy c-channel where they were welded/attached to the front L-channel cross member support. It’s apparent that the weight of the body puts a lot of stress in this area. I would eventually repair this with an extra plate of steel in these areas. I would also weld some brackets in the areas of the leafspring eye supports the width of the c-channel, in a sense, boxing in those 4 areas. There were also ...
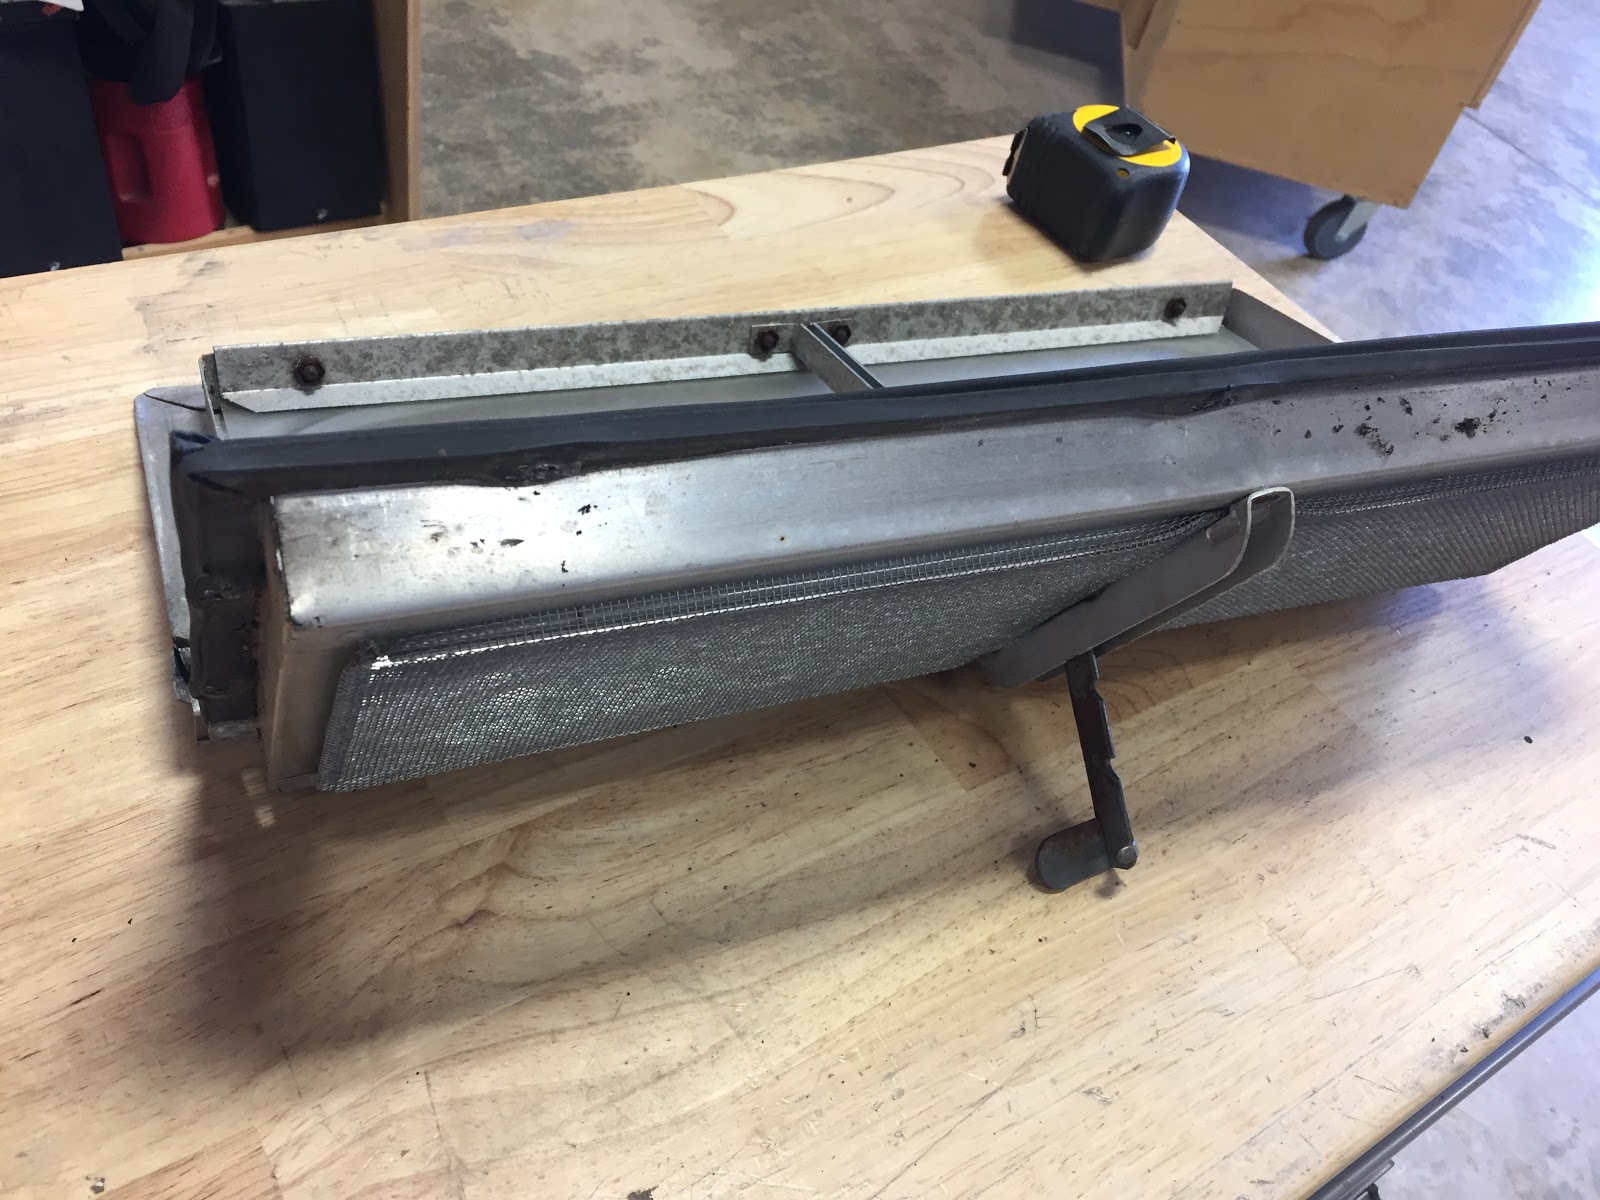
After ripping out the kitchen counter assembly, I began tearing down sections of walls. It continues to be apparent that the structural integrity of Otis was gone long ago. With the entire passenger side and front dismantled, it was almost time for it all to come crashing down. The previous owner installed laminate flooring. It was pieced in pretty badly. With all the walls torn down, the floor was next. The white plywood is in the rear where the last owner attempted to replace a rotten section. This photo also shows the cool galvanized fender wells removed. They were in great shape.


Comments
Post a Comment